
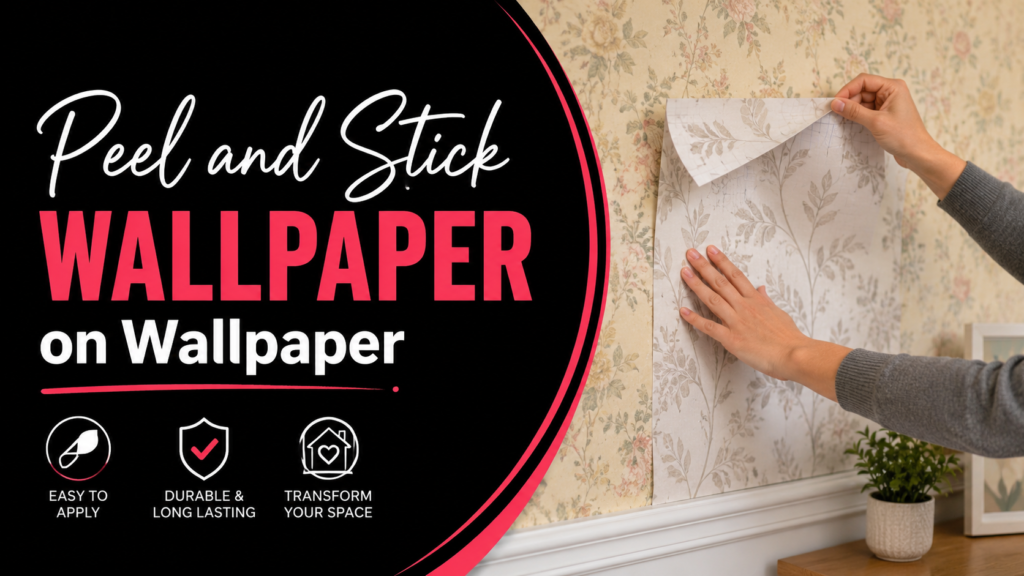

Imagine walking into a dated rental living room with tired old wallpaper that screams 1990s. You want a fresh look fast, but the thought of stripping everything down sounds like a nightmare. As a renter or busy homeowner, you wonder: can you skip the mess and simply apply new peel and stick wallpaper right over the existing layer?
The short answer is yes, in many cases, but success depends on careful assessment and preparation. This comprehensive guide walks you through everything you need to know about applying peel and stick wallpaper over traditional wallpaper. You will learn the prerequisites, potential pitfalls, detailed preparation steps, and best practices to achieve professional-looking results that last. Whether you are a DIY enthusiast refreshing a rental or a homeowner seeking a budget-friendly update, these practical insights will help you transform your space confidently.
Why Consider Peel and Stick Wallpaper Over Existing Wallpaper?
Peel and stick wallpaper, also known as self-adhesive or removable wallpaper, offers incredible convenience. It requires no paste, sets up quickly, and comes off cleanly in most situations. For renters updating rental spaces or homeowners wanting temporary changes, layering it over old wallpaper saves hours of tedious removal work.
However, not every situation works perfectly. The existing wallpaper must be in good condition. If it is smooth, firmly adhered, and free of major damage, you have a solid foundation. This approach shines in low-traffic areas like accent walls or bedrooms, where the new layer can refresh the look without major commitment.
Real-life example: One renter I advised had a subtly textured floral wallpaper in her apartment. After testing, she applied a modern geometric peel and stick design successfully. The room felt brand new in a weekend, and removal later was straightforward for her landlord.
Assessing Your Existing Wallpaper: Key Prerequisites
Before you buy a single roll, evaluate the old wallpaper thoroughly. This step prevents frustration and wasted money.
Check the Condition of the Old Wallpaper
Start by inspecting every inch of the wall. Look for:
- Peeling edges or seams
- Bubbles or blisters
- Cracks or tears
- Loose sections that shift when pressed
If the old wallpaper shows significant wear, remove it first. A new layer will only stick as well as the surface beneath it. Loose old wallpaper leads to the new one peeling too.
Pro tip: Press firmly along seams and corners. Any movement means trouble ahead.
Identify the Type of Existing Wallpaper
Different types behave differently:
- Non-vinyl or paper wallpaper: Often porous and easier to cover if smooth.
- Vinyl-coated wallpaper: Nonporous surface can prevent strong adhesion. Test by dabbing a small wet sponge on an inconspicuous area. If water beads up, it is likely vinyl and harder to cover.
- Textured wallpaper: Applying peel and stick wallpaper over textured wallpaper is possible but challenging. The texture reduces contact area for the adhesive.
For textured surfaces, consider light sanding or a skim coat for better results, though many renters prefer to avoid permanent changes.
Will Peel and Stick Wallpaper Stick to Old Wallpaper?
It can, but adhesion varies. High-quality peel and stick products with strong adhesives perform better. Always choose reputable brands designed for versatility.
Risks and Potential Issues
Understanding the downsides keeps expectations realistic.
Adhesion Failure: The new wallpaper might not bond perfectly, leading to lifting edges over time, especially in humid areas like bathrooms or kitchens.
Visible Imperfections: Bumps, seams, or patterns from the old layer can show through, particularly with thinner peel and stick options.
Removal Challenges: Later, removing the new layer might pull at the old wallpaper if not prepped correctly. This answers a common long-tail question: “How do you remove peel and stick wallpaper without pulling off old wallpaper?” Work slowly and use heat if needed.
Will Peel and Stick Wallpaper Ruin Existing Wallpaper? Usually not if applied and removed carefully, but poor prep increases risks.
In rentals, this method offers flexibility, but always get landlord approval in writing.
How to Test If Peel and Stick Wallpaper Will Stick
Never skip this crucial step. It answers “How do I test if peel and stick wallpaper will stick to my current wallpaper?”
- Buy a small sample or cut a test piece from your roll.
- Clean a 12×12 inch test area thoroughly.
- Apply the sample following full instructions.
- Let it sit for 24-48 hours.
- Check for lifting, bubbling, or poor adhesion.
- Remove gently and inspect both layers.
If the test succeeds, proceed with confidence. If it fails, consider stripping the old wallpaper or using a different product.
Preparing Old Wallpaper for Peel and Stick Wallpaper: Step-by-Step
Proper preparation makes all the difference for “applying peel and stick wallpaper over textured wallpaper” or smooth surfaces.
Step 1: Gather Your Tools and Materials
- Mild soap or TSP substitute cleaner
- Soft sponges and cloths
- Putty knife and spackle
- Fine-grit sandpaper or sanding sponge
- Wallpaper primer or bonding primer (oil-based or shellac recommended for sealing)
- Level, measuring tape, utility knife
- Squeegee or plastic smoother
- Screwdriver for outlets and switches
Step 2: Clean the Surface Thoroughly
Remove dust, grease, and residue. Use a mild solution of dish soap and warm water. Avoid soaking the walls to prevent loosening the old paper. Rinse and let dry completely (at least 24 hours).
Step 3: Repair Imperfections
Fill holes, cracks, and seams with spackle. Sand smooth once dry. Pay special attention to seams of the old wallpaper to create a flatter surface.
Step 4: Sand for Better Adhesion
Lightly sand the entire surface with fine grit to create tooth for the adhesive. Wipe away all dust.
Step 5: Prime the Walls
Apply a high-quality primer designed for wallpaper or problematic surfaces. This seals the old layer, improves adhesion, and prevents issues like “What happens if you put self-adhesive wallpaper on unprimed wallpaper?” An unprimed surface often leads to failure. Let the primer cure fully according to product instructions.
For textured walls, a thicker primer or skim coat helps bridge minor imperfections.
Step-by-Step Installation Guide
With prep complete, installation feels rewarding.
- Measure and Plan: Measure walls and order extra material (10-15% more for mistakes and matching).
- Cut Panels: Cut to length, adding a few inches for trimming.
- Remove Backing Gradually: Start at the top, align with a plumb line, and peel backing a little at a time.
- Apply and Smooth: Press down with a squeegee, working out bubbles from center to edges.
- Trim Edges: Use a sharp utility knife and straight edge for clean cuts around outlets, ceilings, and baseboards.
- Overlap or Butt Seams: Follow pattern matching carefully. Use a seam roller for tight bonds.
Work in good lighting and maintain consistent room temperature (around 65-75°F) for best adhesive performance.
Applying Removable Wallpaper Over Wallpaper in a Rental: Focus on reversible methods and test thoroughly to protect the underlying surface.
Common Pitfalls to Avoid
- Skipping the test patch.
- Applying over dirty or unprepared surfaces.
- Working in high humidity.
- Rushing the smoothing process, trapping air.
- Using low-quality products that shrink or lift.
If you encounter issues like bubbling, gently lift and reapply or use a pin to release air.
Cost and Time Savings
Layering saves significant time and money compared to full removal, which can involve steamers, chemicals, and multiple days of labor. Materials for prep (cleaner, spackle, primer) typically cost under $50 for an average room.
Maintenance and Longevity
Clean gently with a damp cloth. Avoid abrasive cleaners. In high-moisture areas, ensure good ventilation.
Is It Better to Strip Old Wallpaper Before Using Peel and Stick?
For permanent or high-traffic installations, yes. Stripping provides the smoothest base and longest-lasting results. For temporary updates, especially in rentals, the over-wallpaper method works well when prepped correctly.
Conclusion
Putting peel and stick wallpaper on wallpaper is a smart, accessible option for many DIY projects when the existing surface is sound and you prepare properly. With testing, cleaning, repairs, priming, and careful application, you can achieve beautiful, temporary transformations that boost your space without major hassle.
Ready to refresh your walls? Grab your tools, test a sample, and enjoy the creative process. Your updated room awaits. For more home improvement inspiration, check resources like [This Old House wallpaper guides] or manufacturer installation videos.
FAQs
Can you put peel and stick wallpaper over traditional wallpaper?
Yes, if the old wallpaper is smooth, clean, and well-adhered. Proper prep is essential.
Will peel and stick wallpaper ruin existing wallpaper?
It rarely does when applied and removed correctly, but poor adhesion or hasty removal can cause issues.
Can I put removable wallpaper over textured wallpaper?
It is possible but more difficult. Smoothing techniques or primer help improve results.
What happens if you put self-adhesive wallpaper on unprimed wallpaper?
Adhesion often fails, leading to peeling or bubbling. Priming seals the surface for better hold.
How do you remove peel and stick wallpaper without pulling off old wallpaper?
Peel slowly at a 180-degree angle, apply gentle heat with a hairdryer if needed, and work in sections.
Is applying peel and stick wallpaper over wallpaper suitable for rentals?
Yes, it is renter-friendly when reversible and landlord-approved.
How long should I wait after priming before applying peel and stick?
Follow the primer instructions, typically 24 hours for full cure.
You May Also Like: 11 Home Decor Ideas for Small Living Rooms That Feel Luxurious